Retail Agent Payable Reconciliation
The Retail Agent Payable Reconciliation can be used foritems due to the Retail Agent such as agency bill gross, direct bill gross commissions, receipts and disbursements offset to the Retail Agent Reconciliation Clearing general ledger account.
To Perform a Reconciliation
- On the Primary
menu,
click ORGANIZATION.
- Select the lowest book level tab, such as the territories
tab and select the Details
 icon next to the entity to reconcile.
- Select the accounting > transactions > reconciliation tab.
- Click [Add
New Reconciliation]. The Reconciliation dialog box is displayed.
- In the Entity Type list, select Retail Agent. Two options are displayed, Payable Reconciliation and Receivable Reconciliation.
- Select Payable Reconciliation.
- In the Entity Name box, enter at least two characters
of the name for the entity or the Enterprise Code and click Search.
Note:
If the
entity has an alternate payment address, it can be selected from the Select Address list.
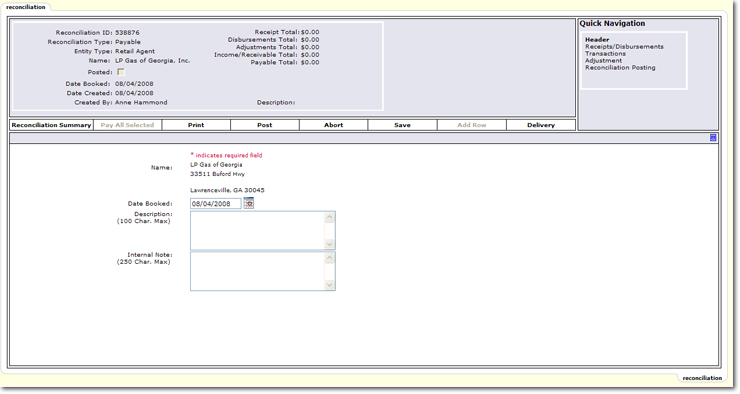
- Once the entity is found, click OK. The reconciliation tab is displayed.
Note: Use the Maximize / Minimize  icon to display the full screen view of the reconciliation.
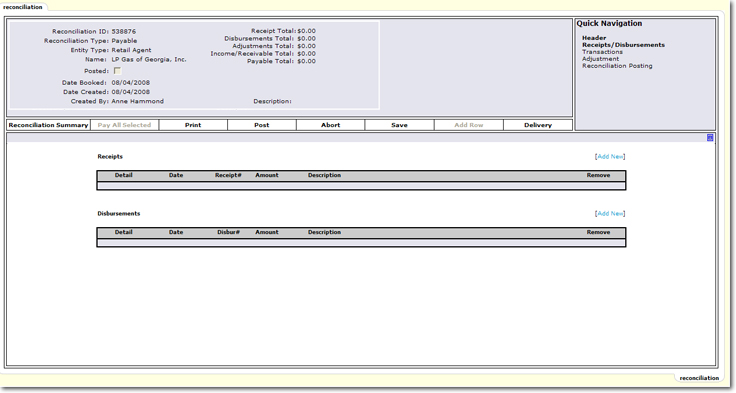
- In the Quick Navigation panel, click Receipts/Disbursements. The following example is for reconciling receive payment and disbursement entries made using the retail agent as the entity.
Note: When working with general ledger item under Quick Navigation > Adjustments, the 1099 check box is available. Once the reconciliation has been posted, only the 1099 check boxes are editable. If it is necessary to update a 1099 selection, make the new selection and click [Update 1099]. The system records are then updated to match the selection. Only a staff member with Accounts Payable > Modify rights can change 1099 selections. Changes to locked or closed months can only be made by a staff member with Accounts Payable > Post Locked rights can change 1099 selections in a locked or closed month. For more information on security settings see 1099 Security.
- To add receipts that include receive payment entries made using Retail Agent as the entity. Click [Add New]. The Add Receipts dialog box is displayed.
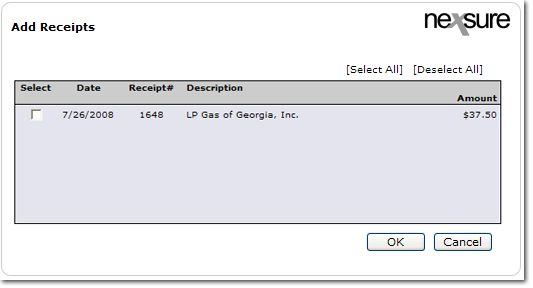
- In the Add Receipts dialog box, select the receipts to add to the reconciliation by selecting the check box next to each receipt.
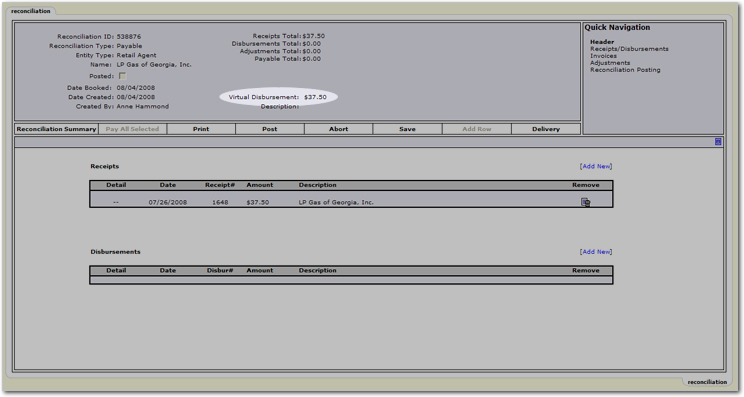
- Click OK. The receipt is added to the reconciliations tab under the Receipts section. A Virtual Disbursement will be created if there is money due to the retail agent. If there is money due from the retail agent, a Virtual Receipt is created.
- To add disbursements that include disbursement entries made using Retail Agent as the entity. Click [Add New] in the Disbursements section. The Add Disbursements dialog box is displayed.
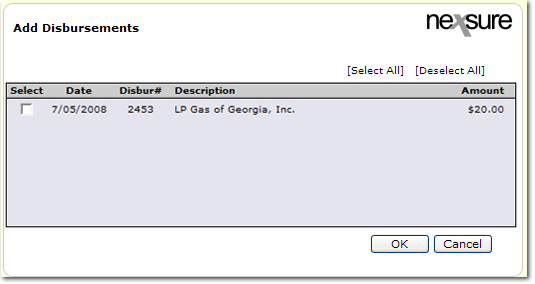
- In the Add Disbursements dialog box, select the disbursements to add to the reconciliation by selecting the check box next to each disbursement.
- Click OK. The receipt is added to the reconciliations tab under the Disbursements section. A Virtual Disbursement will be created if there is money due to the retail agent. If there is money due from the retail agent, a Virtual Receipt is created.

Notice the Virtual Disbursement line is updated with the amount due to the retail agent.
- In the Quick Navigation panel, click Transactions. The transaction line items are displayed. In the Agency Bill area, use the guidelines in the next steps.
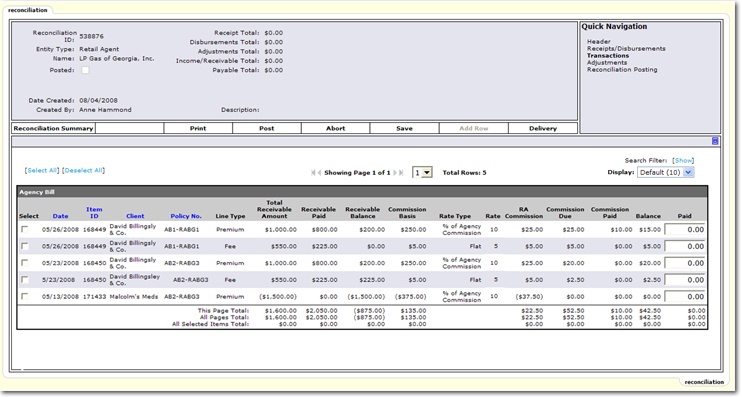
- Select items to pay by clicking the Select check box or entering a value into the Paid box.
- On the Navigation Toolbar, click Save. In the Direct Bill area, use the guidelines in the next steps.
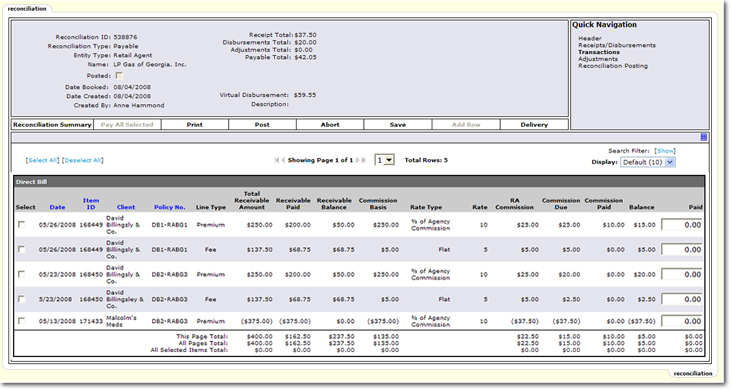
- Select items to pay by clicking the Select check box or entering a value into the Paid box.
- On the Navigation Toolbar, click Save. All selected items will be paid.
- In the Quick Navigation panel, click Adjustments. Adjustments present the opportunity to add to or subtract from the retail agent payable.
- Click Add Row on the Navigation Toolbar to add an adjustment.
- In the Quick Navigation panel, click Reconciliation Posting. The Reconciliation Details screen is displayed.
- On the Navigation Toolbar, click Post. The Post Reconciliation dialog box is displayed.
- Click OK to post the reconciliation.
Or
- Click Cancel to return to the unposted reconciliation.
- On the Navigation Toolbar, click Print to print either the Reconciliation Summary or the Retail Agent Remittance Advice.
Note: The Retail Agent Remittance Advice can be printed prior to posting.
Retail Agent Reconciliation
Retail Agent Receivable Reconciliation